How-to: How to host my static website for free?
How to host my static website for free?
There are many tools to publish your site for free:
- Cloudflare Pages
- GitHub Pages
- Gitlab Pages
- Vercel
- Netlify
- Render
And certainly still others.
In any case, you just have to share the content of the web/prod folder. Here is the way to host your website on GitHub Pages.
Notes:
- Free hosting on GitHub Pages is only available with a public repository. Never share or upload sensitives data. Private repository for GitHub Pages is only available with Team plan.
- Cloudflare, Vercel, Netlify and Render clone a GitHub or a Gitlab repository, public or private.
- I recommend always using a
wwwsubdomain - When you add or update files on GitHub, you have to wait a few minutes before publishing
Step 1
Without a personal domain name, the website URL will be: https://username.github.io, where username is your username on GitHub.
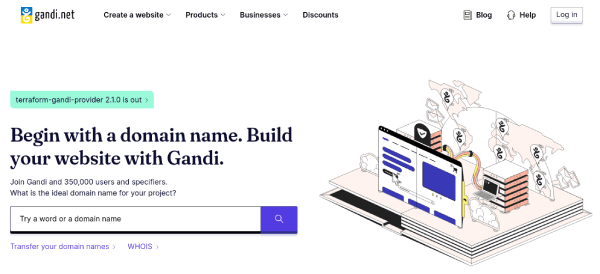
You can order a domain name from your favorite registrar like Gandi, or do it later.

Step 2
Configure Stapy with the full host as the base URL for the prod environment:
source
+--- pages.json
{
  "url.local": "http://127.0.0.1:1985/",
  "url.prod": "https://www.example.com/"
}
The website URL will be here: https://www.example.com/. Without a personal domain name, set https://username.github.io/.
Step 3
This step is optional without a personal domain mame.
We need to tell GitHub Pages our domain name. That can be done by creating a CNAME file containing the domain.
source
+--- assets
     +--- CNAME
www.example.com
The CNAME file in the assets directory will be copied to the website root.
Step 4
Build the website:
python stapy.py build
On Windows double-click on build.py.
The website files to be published are now in the web/prod directory.
Step 5
On GitHub, create a new public repository named username.github.io where username is your username on GitHub.

Step 6
Add files to the GitHub repository with:
1. Web interface (beginner)
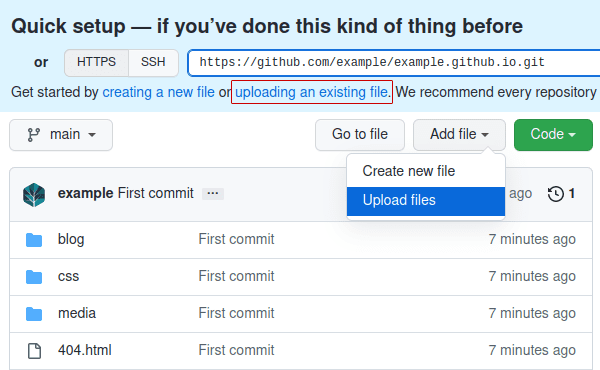
You can upload files from the web/prod directory to GitHub with the web interface:

Drag all files, then commit.
2. Git Client (intermediate)
On Windows or macOS you can use a Git client like GitHub Desktop.
On Linux GitKraken is a good client.
3. Command line (expert)
Commit and push all the static files (web/prod) on the GitHub repository.
cd web/prod
git init
git add -A
git commit -m "first commit"
git branch -M main
git remote add origin https://github.com/{username}/{username}.github.io.git
git push -u origin main
Step 7
This step is optional without a personal domain mame.
From the registrar, edit the DNS zone and add a CNAME record for the www subdomain:
- Type: CNAME
- Host Name: www
- Points to: username.github.io
- TTL: 1 hour
Step 8
On your GitHub repository, go to Settings > Pages. Enable Pages for the root directory on the main branch.
Add your custom domain (www.example.com) and enforce HTTPS.
Note: GitHub waits for DNS propagation before generating the SSL certificate. This can take a while.
Next
- How to add a new block?
- How to add a new blog post?
- How to build reusable HTML components?
- How to implement a custom plugin?
- How to display a list of items?
- How to display a list of links?
- How to add dynamic data to a page with a plugin?
- How to use Stapy on Windows?
- ✓ How to host my static website for free?
- How to auto-deploy my website with GitHub Action?
- How to write content in Markdown?
- How to add a JSON feed?
- How to use Stapy with Apache HTTP Server?
- How to update Stapy?
